How To Dismantle A Shed
Date Published: July 26th, 2020
Just ordered your new shed and need to make room for it but the old one is in the way? Moving house and taking your shed with you? No matter your reason, we’ve outlined exactly how to dismantle a shed so that it all goes smoothly and safely.
Every shed isn’t made equal, however, following the below steps as a general rule will help you have your shed dismantled in no time.
Before You Begin
In case you don’t need your old shed anymore, consider placing an ad online before you begin the dismantling process. You might find that someone is willing to dismantle the shed for you if they can have it for free. If you’re purchasing a shed from us, we also offer a shed removal service which can be added on to your order. Visit this page for more details.
Tools For The Job
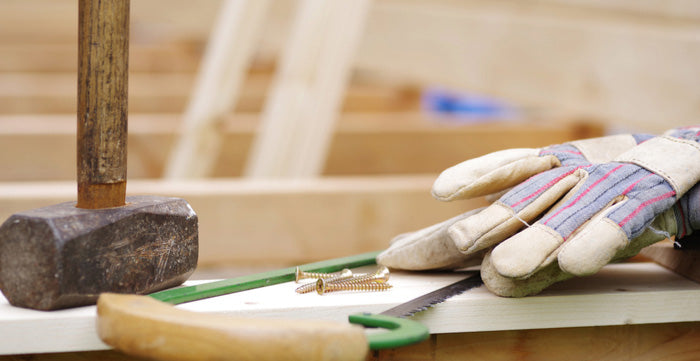
The tools you need for dismantling a shed or garden building will vary depending on which shed you have and how it is fixed together. It’s handy to have a hammer and a number of wrecking bars to hand before you start.
Wrecking bars are useful for prying apart timber sections, and the hammer can be used to carefully remove nails. If you have them, keep screwdrivers nearby in case you need to remove any screws.
Bolts and screws are easier to remove when it comes to dismantling a shed while rusty nails may be harder to remove safely.
When you start dismantling your shed, make sure that you use protective gear such as gloves and eyewear. This is so that you’re prepared for any potential injuries caused by rusted debris, broken glass or rotting timber.
How To Dismantle A Shed
Step 1 - Remove Trims & Fascias
The first thing you’ll want to do is remove any trims and fascias by unscrewing the screws that hold them to the frame. These are mostly just decorative details and won’t affect the structure of the shed itself.
Step 2 - Remove The Doors & Windows
You can do this by unscrewing any hinge mounts attached to the structure. Once all the hinges are removed, take off all the locks, catches etc. When you get to the windows, carefully unscrew their frames and remove the glass planes.
Step 3 - Remove The Roof
If needed, use a screwdriver or wrecking bar to prise nails from your roofing felt/finish. Once your roof boards are exposed, unscrew or prise any nails and slide the frame away from the structure itself. If you can, ask another person to help you safely remove the roof with you.
Step 4 - Remove The Roof Brace
You can do this by removing the brackets that hold the brace to the shed. Once you have done this, the structure may be wobbly, and you will need to be careful when leaning or moving other parts of the shed.
Step 5 - Remove The Frame From The Floor
At this point, remove all the screws from the base and unscrew the corners of the frame. Ideally, start from the front gable and work around the structure. One by one, the panels and shed walls will become free ensuring you can remove them safely.